Quick answer
Set up a turntable by placing it on a level, stable surface, fitting the platter and belt if required, connecting the correct audio outputs, then setting the tonearm tracking force and anti-skate if your model allows adjustment. Only fit or expose the stylus when the turntable is stable and you are ready to check the arm.
Before playing a record, confirm the platter turns at the right speed, the tonearm moves freely, the stylus guard is removed, and the sound is coming through the correct input or speakers. If anything scrapes, jumps, hums loudly or sounds distorted, stop and re-check the setup rather than increasing volume.
In this guide
- How to unpack a turntable without damaging the stylus, arm or dust cover
- Where to place a turntable so vibration and skipping are less likely
- How to fit common parts such as the platter, belt, headshell and counterweight
- How to connect built-in preamp, external amplifier, powered speakers, USB and Bluetooth setups
- How to set tracking force and anti-skate on adjustable tonearms
- How to check speed, sound, channel balance and safe cueing before regular listening
- Common setup errors that can damage records or cause poor sound
Watch the article video
1. Prepare the space before you unpack anything
Choose the final position before you start assembling the turntable. Moving a partly assembled deck increases the chance of knocking the tonearm, dropping the platter or catching the stylus.
The best surface is rigid, level and separate from strong vibration. A heavy sideboard, dedicated hi-fi rack or stable shelf usually works better than a light table that wobbles when you walk past.
Keep the turntable away from direct heat, damp, radiators, kitchen steam and sunny windowsills. Vinyl can warp with heat, and electrical equipment should not be placed where spills are likely.
Also think about the cable route. You need enough space for the power lead and audio cables without pulling them tight, and you should avoid running low-level audio cables directly alongside mains cables where possible.
Before opening the box, wash and dry your hands. Have a clean, soft cloth or towel nearby so small parts can be placed somewhere safe.
You may also want:
- A small spirit level or phone levelling app
- The manufacturer’s manual
- A record you do not mind using for first checks
- A stylus brush or carbon fibre record brush
- Good lighting so you can see the cartridge and arm clearly
2. Unpack carefully and identify the parts
Remove the largest items first and set them down in order. Do not pull the tonearm, headshell or cartridge to lift the unit from the packaging.
Many turntables are shipped with protective clips, foam blocks, twist ties or transit screws. These are useful in shipping but must usually be removed or released before use.
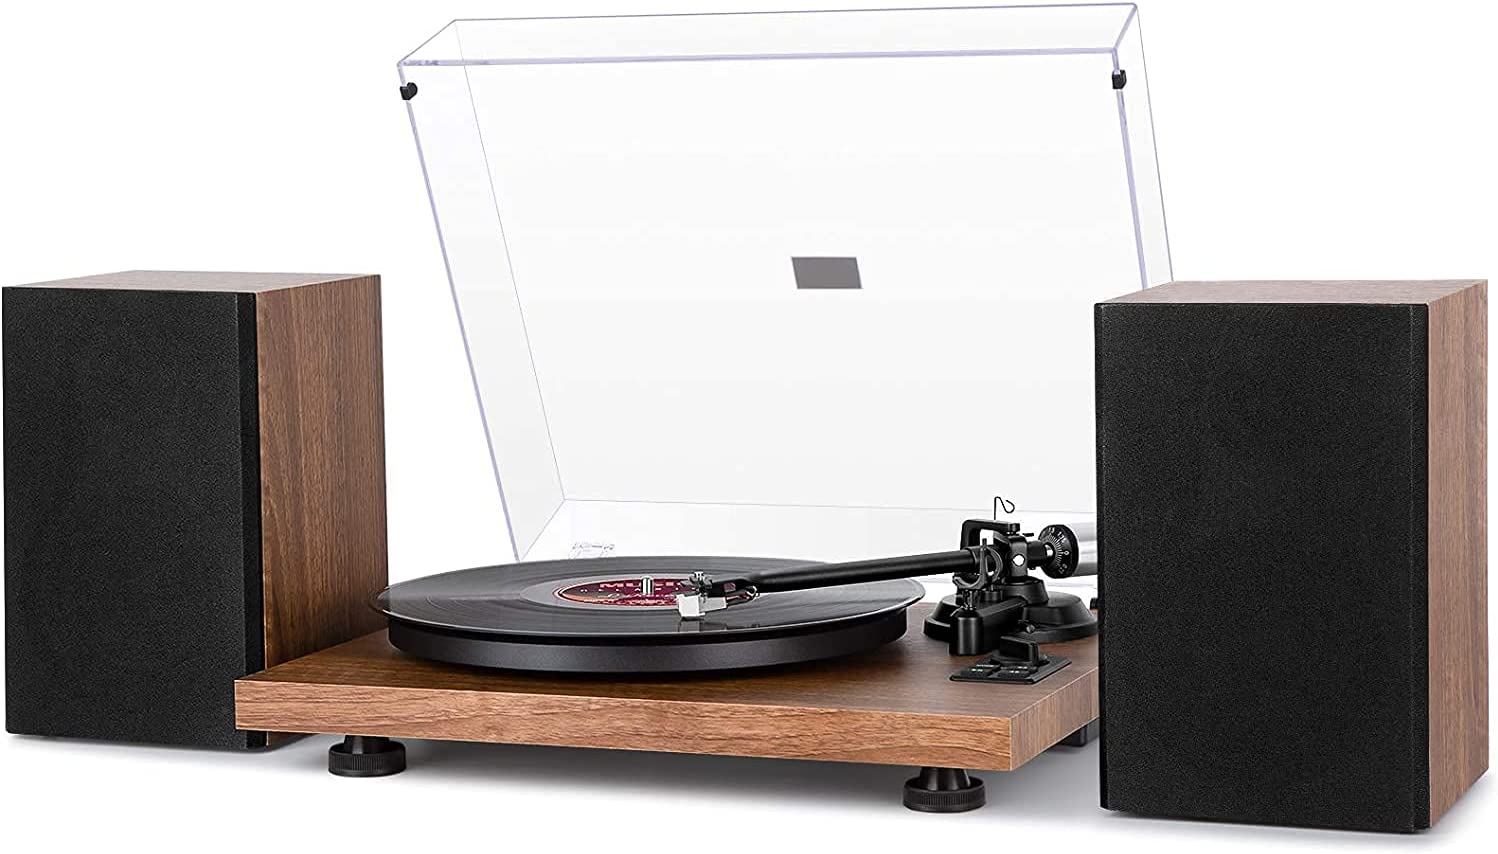
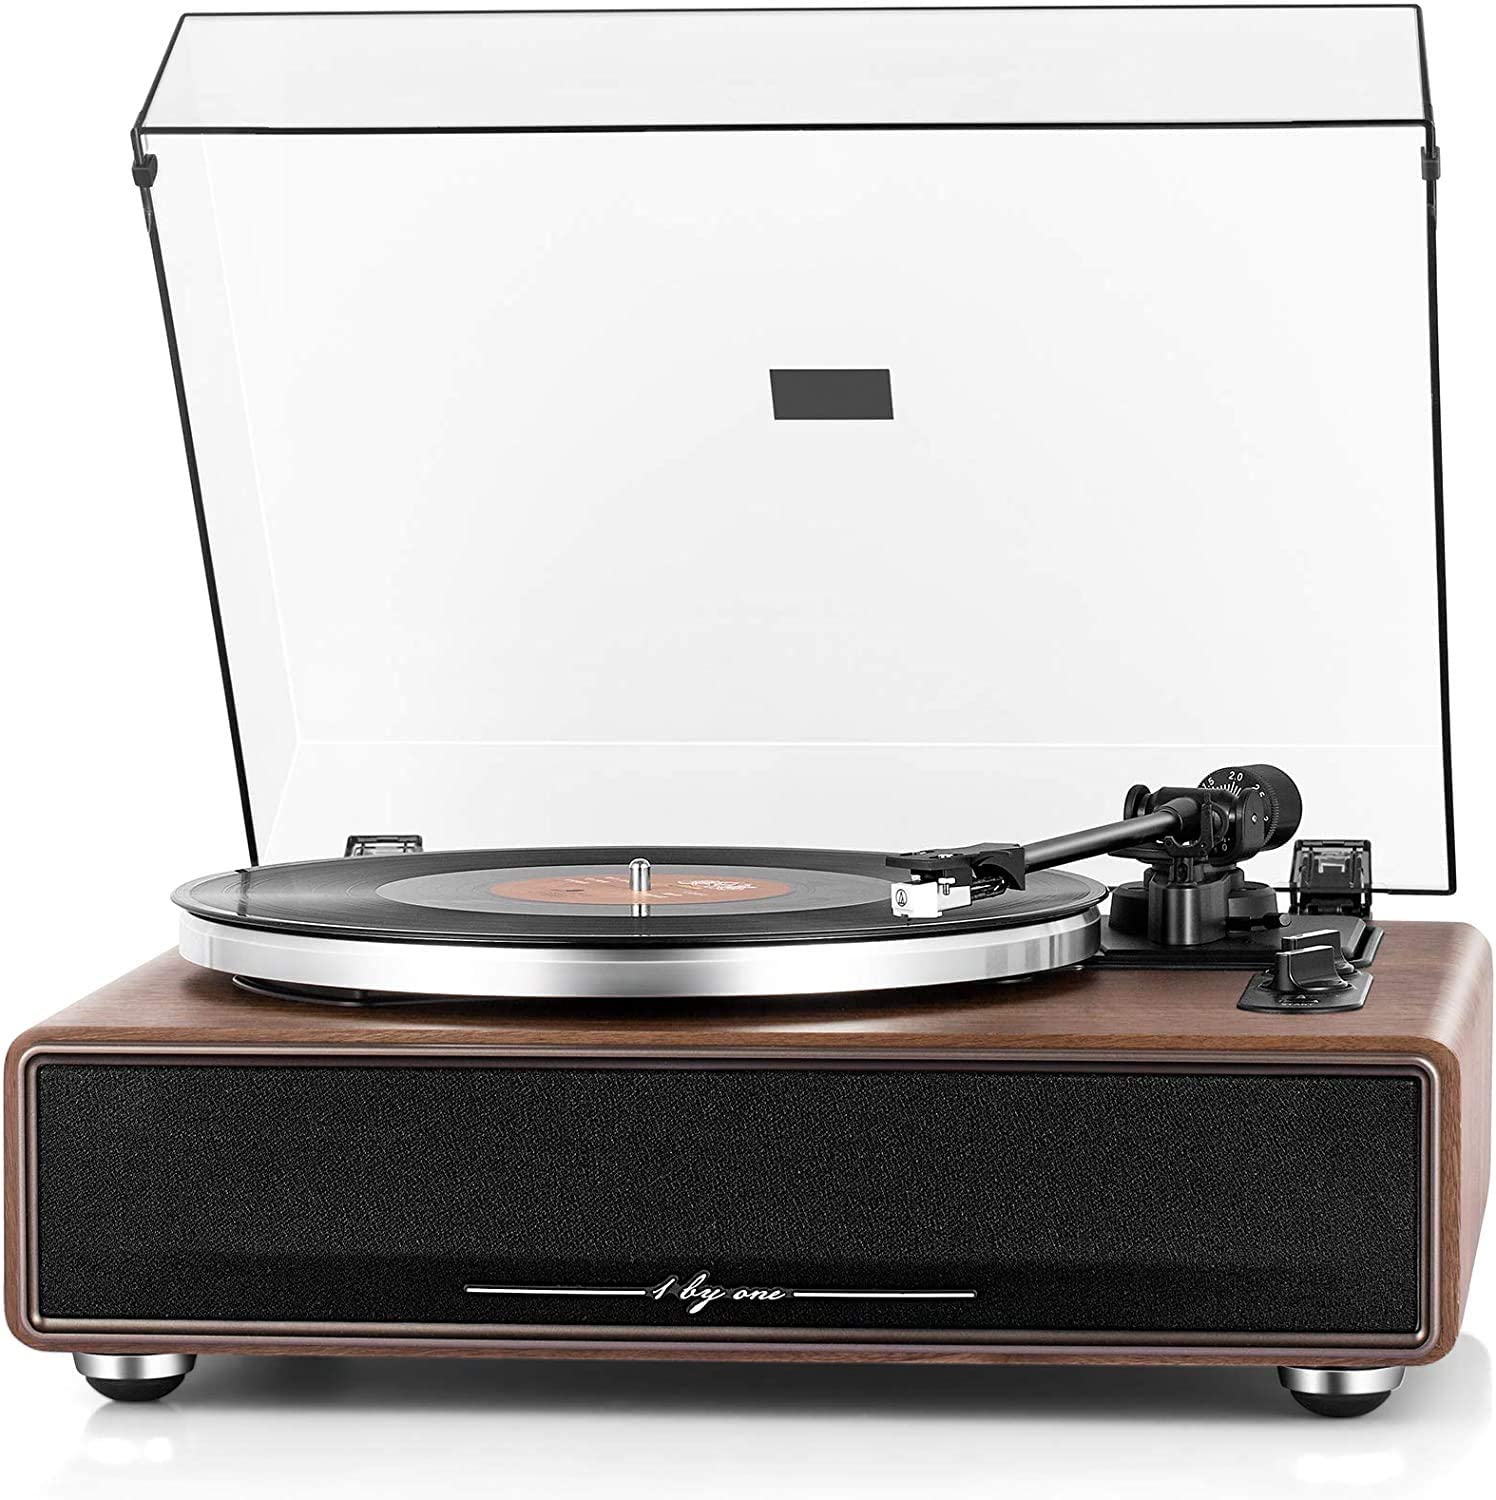
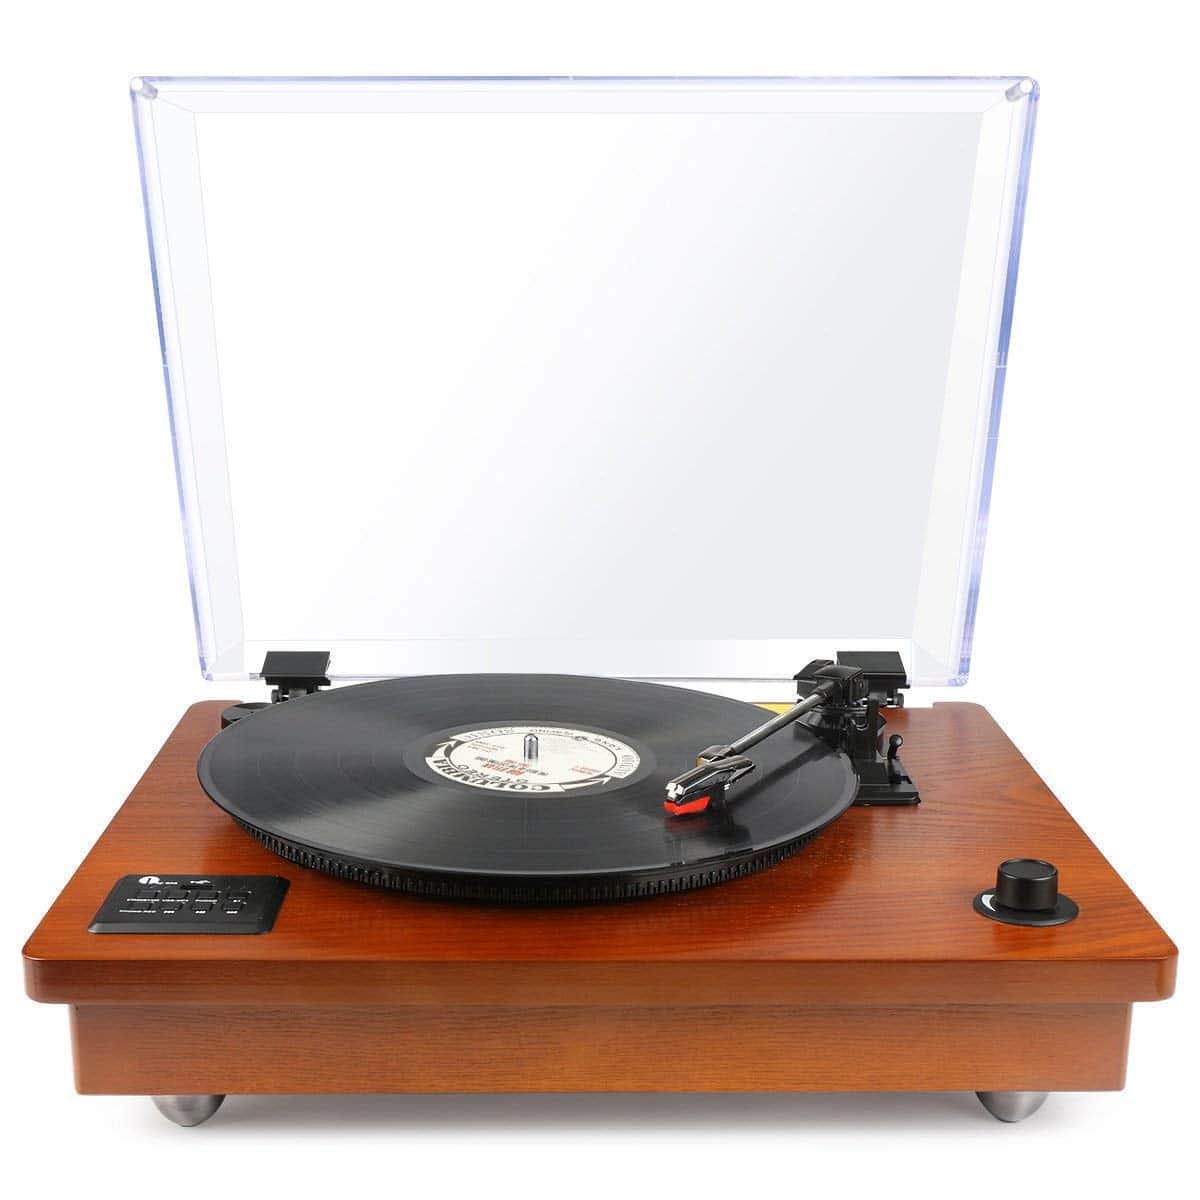
Common parts include:
- Plinth: the main body of the turntable
- Platter: the round platform the record sits on
- Mat: the rubber, felt or cork layer on top of the platter
- Belt: a rubber loop used on belt-drive turntables
- Counterweight: a weight fitted to the rear of some tonearms
- Headshell: the front part that holds the cartridge on some models
- Cartridge: the part that holds the stylus and turns groove movement into an audio signal
- Stylus: the tiny tip that tracks the record groove
- Dust cover: the clear lid, if supplied
- RCA cable: the red and white audio cable used for left and right channels
- Ground wire: a thin wire used on some systems to reduce hum
Check the manual before throwing packaging away. Some small items, such as belt hooks, adaptors or hinges, can be hidden in foam or cardboard.
Leave the stylus guard on while you assemble the deck. If the cartridge has no guard, keep your hands well away from the stylus and do not rest the tonearm where it can swing freely.
3. Fit the platter, belt and mat
Not every turntable arrives in the same state. Some entry-level automatic or all-in-one players come mostly assembled, while many belt-drive turntables require you to fit the platter and belt.
For a typical belt-drive turntable:
- Place the platter onto the centre spindle.
- Locate the drive belt, usually already around the underside of the platter or supplied separately.
- Loop the belt around the motor pulley, often through an access hole in the platter.
- Rotate the platter gently by hand several times to make sure the belt sits flat.
- Place the mat on top of the platter.
The belt should not be twisted. If it rides up the pulley, slips off or feels loose, stop and refit it rather than switching on repeatedly.
For a direct-drive turntable, the platter usually sits directly on the motor spindle. In that case, follow the manual and do not try to add a belt that is not part of the design.
After fitting the platter, turn it slowly by hand. It should rotate freely without scraping, wobbling heavily or catching the plinth.
A very slight visual variation on some platters is not always a fault, but obvious tilt, rubbing or scraping needs attention before use. Check that the platter is fully seated and that no packing material remains underneath.
4. Level the turntable and reduce vibration
A turntable must allow the stylus to sit evenly in the groove. If the deck is badly tilted, the arm may pull inwards or outwards, and the stylus may mistrack.
Place a small spirit level on the platter, not on the dust cover. Check front-to-back and side-to-side.
If the turntable has adjustable feet, turn them until the platter is level. If it does not, adjust the furniture underneath rather than placing random soft objects under one corner of the deck.
Next, check stability. Lightly tap the furniture, not the turntable, and watch whether the deck rocks or bounces.
If the room has springy floorboards, try placing the turntable on a wall shelf or on furniture near a solid wall. Skipping caused by footsteps is usually a positioning problem, not a volume problem.
Keep speakers away from the turntable if possible. Loud bass can feed vibration back into the stylus, causing muddy sound, howling feedback or skipping.
Built-in speakers on suitcase and all-in-one record players are convenient, but they place vibration close to the record. Use moderate volume and a stable surface, especially when playing records you care about.
5. Connect the turntable to the right input
Turntables produce either a very small phono-level signal or a stronger line-level signal if a phono preamp is built in. A phono preamp is the circuit that boosts the cartridge signal and applies the correct tonal equalisation for records.
This is one of the most common setup traps. If the wrong input or switch setting is used, the result may be extremely quiet, distorted, boomy or harsh.
Use these basic rules:
- If your turntable has a PHONO/LINE switch and you are connecting to powered speakers, a soundbar line input or an amplifier AUX input, choose LINE.
- If you are connecting to an amplifier’s dedicated PHONO input, choose PHONO.
- If your turntable has no built-in preamp and your amplifier has no PHONO input, you need an external phono preamp.
- If there is a separate ground wire, attach it to the amplifier or preamp ground terminal if available.
Red RCA usually means right channel, and white or black usually means left channel. Push plugs in firmly but do not twist them aggressively.
Powered speakers, such as catalogue examples in the record player speaker category, include their own amplification. Passive speakers need an amplifier between the turntable and the speakers.
USB turntables add a computer connection for recording or digitising records. USB is separate from normal speaker listening on many models, so do not assume connecting USB alone will play sound through your hi-fi.
Bluetooth turntables can transmit wirelessly to compatible speakers or headphones. This is convenient, but pairing modes differ by model and Bluetooth may add delay, so it is not ideal for DJ-style cueing or watching video in sync.
6. Fit the headshell or cartridge parts if required
Some turntables arrive with the cartridge pre-fitted. Others have a removable headshell that must be attached to the tonearm.
If your headshell is separate, hold it by the sides, not by the stylus. Insert it into the front of the tonearm and tighten the locking collar gently until secure.
Do not over-tighten small fittings. The aim is firm contact, not force.
If your turntable requires full cartridge fitting and alignment, the process is more advanced. New owners should use the supplied alignment guide or ask a dealer or experienced technician if unsure, because cartridge angle affects sound, tracking and record wear.
For most beginner-friendly turntables, you should not need to move the cartridge screws during basic setup. Models such as automatic turntables and many Bluetooth record players are commonly sold with cartridge and stylus already installed, though you should still check the manual for transit protection and stylus guard instructions.
Never touch the stylus tip with your fingers. Skin oils and a sideways knock can damage it.
7. Balance the tonearm and set tracking force
Tracking force is the downward pressure of the stylus in the record groove. Too little force can cause skipping and groove damage from mistracking; too much force can increase wear and dull the sound.
Some turntables have a fixed tonearm with no user adjustment. In that case, do not try to force a counterweight or dial that is not designed to move.
If your turntable has an adjustable counterweight, follow the manufacturer’s recommended tracking force for the fitted cartridge. Do not guess based on another cartridge, because the correct range depends on the stylus and cartridge design.
A typical manual balancing process is:
- Keep the turntable switched off.
- Make sure the stylus guard is on if the arm can be balanced with it fitted; check the manual, as some instructions require it removed.
- Set anti-skate to zero if your model has an anti-skate dial.
- Release the tonearm clip while holding the arm gently.
- Turn the counterweight until the arm floats level, neither dropping nor rising.
- Without moving the counterweight itself, rotate the numbered tracking force ring to zero if your model uses this style.
- Turn the counterweight and dial together to the recommended tracking force.
- Return the arm to its rest and secure the clip.
A separate stylus force gauge can give a more accurate check, but it is not essential for every beginner if the supplied mechanism is clear and properly used.
When finished, the arm should lower smoothly and the stylus should sit on the record without the cartridge body touching the vinyl. If the arm drops heavily, stop and re-check the counterweight.
8. Set anti-skate and cueing height
Anti-skate is a small outward force that helps balance the tonearm’s natural tendency to move towards the centre of the record. It helps the stylus sit more evenly in both sides of the groove.
If your turntable has an anti-skate control, a common starting point is to set it to the same value as the tracking force. Always follow the manual if it gives different instructions for your cartridge or arm.
If your turntable has no anti-skate adjustment, there is nothing to set. Do not add makeshift weights or try to modify the arm.
Next, check the cueing lever. The cueing mechanism raises and lowers the tonearm so you do not have to drop the stylus by hand.
With a record on the platter and the turntable stopped, move the arm over the record while it is raised. Lower the cueing lever and watch whether the stylus descends slowly and vertically.
If the stylus drops quickly, bounces, lands far from where expected or does not reach the record, check whether a transit lock remains in place. Some cueing platforms can be adjusted, but beginners should consult the manual before turning screws.
Always use the cueing lever while learning. Hand cueing is possible, but it is much easier to slip and drag the stylus across a record.
9. Choose speed and start playback safely
Most 12-inch albums play at 33⅓ rpm, and many 7-inch singles play at 45 rpm. Some records are different, so check the label or sleeve if playback sounds too slow or too fast.
If your turntable has a size selector, it may control where an automatic arm drops rather than the speed itself. Check both speed and size settings on automatic models.
For a first playback check:
- Put a clean record on the platter.
- Remove the stylus guard.
- Select the correct speed.
- Start the platter.
- Use the cueing lever or automatic start control.
- Keep the volume low at first.
- Listen for clean sound from both channels.
- Stop playback if the stylus skates across the record, scrapes or produces severe distortion.
Do not test a newly set up turntable on your rarest or most valuable record. Use a clean, ordinary record first.
A small amount of surface noise can come from dust or record wear. Loud buzzing, heavy distortion, one missing channel or repeated skipping usually means something needs checking.
When the side finishes, use the stop control or lift the tonearm with the cueing lever. Return the arm to its rest and secure the clip if you are moving the turntable or cleaning nearby.
10. Check sound quality and troubleshoot the first problems
Once the record is playing, listen methodically. Avoid changing several things at once, because that makes the cause harder to find.
If the sound is very quiet, check whether you are using a phono-level signal into a line input. Use the turntable’s LINE setting if it has one, or add a phono preamp if the turntable has no built-in preamp.
If the sound is distorted and overloaded, you may be sending a line-level signal into a PHONO input. Switch the turntable to PHONO when using an amplifier’s PHONO input, or use a normal line input when the turntable is set to LINE.
If there is hum, check the ground wire if your system uses one. Also try moving audio cables away from mains adaptors, routers and power strips.
If only one speaker works, swap the red and white RCA plugs left-to-right at the amplifier or speakers. If the missing channel changes sides, the issue is before that point; if it stays on the same speaker, the problem may be amplifier, speaker or speaker cable related.
If the stylus skips, first check the record for scratches, dirt or warps. Then check level, tracking force, anti-skate and whether the turntable is picking up vibration from furniture or speakers.
If vocals sound wobbly or piano notes seem to drift, check that the belt is seated correctly and the speed setting is right. Some turntables have pitch controls, but do not adjust them randomly until you have confirmed the basic speed selection.
11. Protect records and stylus after setup
Good setup is not only about the first play. Daily habits make a large difference to record wear and stylus life.
Keep records in their sleeves when not in use and handle them by the edges and labelled centre. Fingerprints attract dust and can create noise.
Brush the record before playing if it looks dusty. Brush the stylus only with a proper stylus brush and move from back to front, in the same direction the record travels under the stylus.
Do not play cracked, badly warped or very dirty records on a good stylus. They can cause mistracking and may leave debris on the stylus tip.
Close the dust cover when the turntable is not in use. During playback, whether to keep it open or closed depends on the turntable and room; if closing it makes feedback or rumble worse, leave it open while listening.
If you need to move the turntable, refit the stylus guard, secure the tonearm clip and remove the platter if the manual recommends it. Never carry the deck with a loose platter and exposed stylus.
At a glance comparison
| Turntable into amplifier PHONO input | Use the turntable’s PHONO setting if it has a switch. Connect RCA left and right, and attach the ground wire if supplied. |
|---|---|
| Turntable into amplifier AUX, CD or LINE input | Use the turntable’s LINE setting, or add an external phono preamp if the turntable has no built-in preamp. |
| Turntable into powered speakers | Use LINE output from the turntable or a separate phono preamp. Powered speakers contain the amplifier; passive speakers do not. |
| Bluetooth turntable to wireless speaker | Pair using the model’s Bluetooth transmit mode. Expect convenience, but possible delay and dependence on wireless reliability. |
| USB turntable to computer | Use USB for recording or digitising where supported. You may still need separate audio connections for normal room listening. |
Frequently asked questions
Can I set up a turntable without reading the manual?
You can understand the general process from a guide like this, but you should still check the manual for your exact model. Transit locks, belt routes, counterweight markings and Bluetooth pairing methods vary.
The manual is especially important before adjusting tonearm screws, cartridge alignment or automatic start positions.
Why does my new turntable sound quiet through my speakers?
The most likely cause is a phono-level signal going into a normal line input. A cartridge signal is much weaker than the signal from a phone, CD player or streamer.
If your turntable has a PHONO/LINE switch, try LINE when using powered speakers or an AUX input. If it has no built-in preamp, you will need a phono preamp or an amplifier with a PHONO input.
Is Bluetooth setup worse than using cables?
Bluetooth is convenient and can be perfectly suitable for casual listening, but it is not the same as a direct wired connection. It may add delay, compress the audio depending on the devices, and can be affected by pairing or interference issues.
If you are troubleshooting sound quality, a wired connection is often easier to check because it removes wireless pairing from the chain.
Do I need a record weight or clamp when setting up?
No, not for basic setup. A record weight or clamp is an optional accessory and should only be used if the turntable manufacturer says the bearing and motor can handle it.
It will not fix poor tracking force, a warped platter, a bad belt installation or an unstable surface.
How do I know if the stylus is damaged?
A damaged stylus may cause harsh distortion, repeated skipping, poor channel balance or visible bending of the cantilever, which is the tiny support that holds the stylus tip. However, some of the same symptoms can come from dirt, wrong tracking force or a damaged record.
If you suspect damage, stop using it on valuable records. Inspect it under good light and replace the stylus if the tip or cantilever looks bent, missing or loose.
Should the dust cover be open or closed while playing?
Either can be acceptable, depending on the turntable and room. Closing the cover keeps dust away, but it can also trap vibration or pick up sound from speakers in some setups.
If you hear rumble, feedback or a boxy resonance at higher volume, try playing with the cover open or removed if the design allows it.
Why does the arm return or stop before the record ends?
On automatic turntables, the auto-return mechanism may be mis-set, or the record may have an unusual run-out groove area. First check that the size and speed controls are set correctly.
If it happens on every record, consult the manual rather than forcing the arm. Automatic mechanisms can be delicate and are easy to misadjust.
Can I use any stylus force setting if the record sounds fine?
No. A record can appear to play even when the tracking force is wrong. Too little force can be particularly harmful because the stylus may rattle in the groove rather than tracing it cleanly.
Use the cartridge manufacturer’s recommended range or the setting given in your turntable manual for the supplied cartridge.
Final thoughts
Setting up a turntable is mainly about order and restraint: place it on a stable level surface, assemble the mechanical parts carefully, connect the correct output, set the tonearm properly if adjustable, and test with the volume low. If something sounds wrong, stop and check one thing at a time rather than pushing the arm, adding weight or turning every control.
Your next practical step is to identify which type of system you have: built-in speakers, powered speakers, amplifier with PHONO input, external preamp, Bluetooth or USB. Once that is clear, the wiring and switch settings become much easier to confirm.
For your next reading direction, learn how tracking force, anti-skate and cartridge alignment affect record wear and sound quality. Those topics build directly on setup and help you keep both your stylus and records in better condition.