Watch the guide video
Quick answer
Set the turntable on a firm, level surface, assemble the platter and belt if required, connect it to the correct input, and make sure any built-in preamp switch is set correctly. If your turntable has adjustable tracking force, balance the tonearm and set the tracking force to the cartridge maker’s recommended figure before playing a record.
Use a phono input for a phono-level signal and a line, aux or powered-speaker input for a line-level signal. If you hear loud hum, very quiet sound or obvious distortion, stop and check the input, preamp switch, ground wire and stylus setup before continuing.
Key Takeaways
A turntable setup is mostly about doing simple things in the right order. Rushing the connections or skipping the tonearm settings is what causes most first-time problems.
- Put the turntable on a stable, level surface away from speaker vibration.
- Match the turntable output to the correct amplifier, receiver or powered-speaker input.
- Use the ground wire if your turntable and amplifier provide one.
- Set tracking force and anti-skate where the design allows it.
- Test with a clean, non-valuable record before playing anything important.
The most important distinction is phono versus line. Phono is a very low-level cartridge signal that needs a phono stage, while line is a stronger signal that can go into aux, CD, tape, powered speakers or many soundbars with analogue input.
Not every turntable needs the same amount of setup. A simple automatic model may need only platter fitting and a cable check, while a manual hi-fi turntable may require careful tonearm balancing.
What You Need Before Starting
Before opening the box or moving equipment around, clear a table and give yourself good lighting. Small items such as a belt, counterweight, cartridge guard or hinge can be easy to misplace.
You should ideally have:
- The turntable and all supplied accessories.
- The instruction manual or quick-start sheet.
- A pair of speakers, an amplifier, a receiver, or powered speakers.
- RCA cables if they are not permanently attached.
- A mains socket that is not overloaded.
- A small spirit level or phone level app for checking the surface.
- A clean record you do not mind using for the first test.
If your turntable has adjustable tracking force, a simple stylus force gauge is useful. The dial on the counterweight can be accurate enough when used carefully, but a gauge gives extra confidence.
Leave the stylus guard fitted until the guide tells you to remove it. The stylus is the tiny diamond tip that sits in the record groove, and it is one of the easiest parts to damage during setup.
Check the packaging before throwing anything away. Belts, adaptors, hinges and counterweights are sometimes tucked into cardboard inserts or small bags.
Choose the Right Position
A turntable is sensitive to vibration because the stylus is reading very small movements in the record groove. If the surface wobbles, the stylus can mistrack, skip or feed low-frequency rumble through the speakers.
Place the turntable on furniture that is:
- Firm and not springy.
- As level as possible.
- Away from radiators, direct sunlight and damp.
- Not sharing a light, flexible shelf with large speakers.
- Easy to reach without leaning over the tonearm.
After placing it, the plinth should not rock when you touch a corner lightly. If it moves, adjust the feet if possible or choose a better surface.
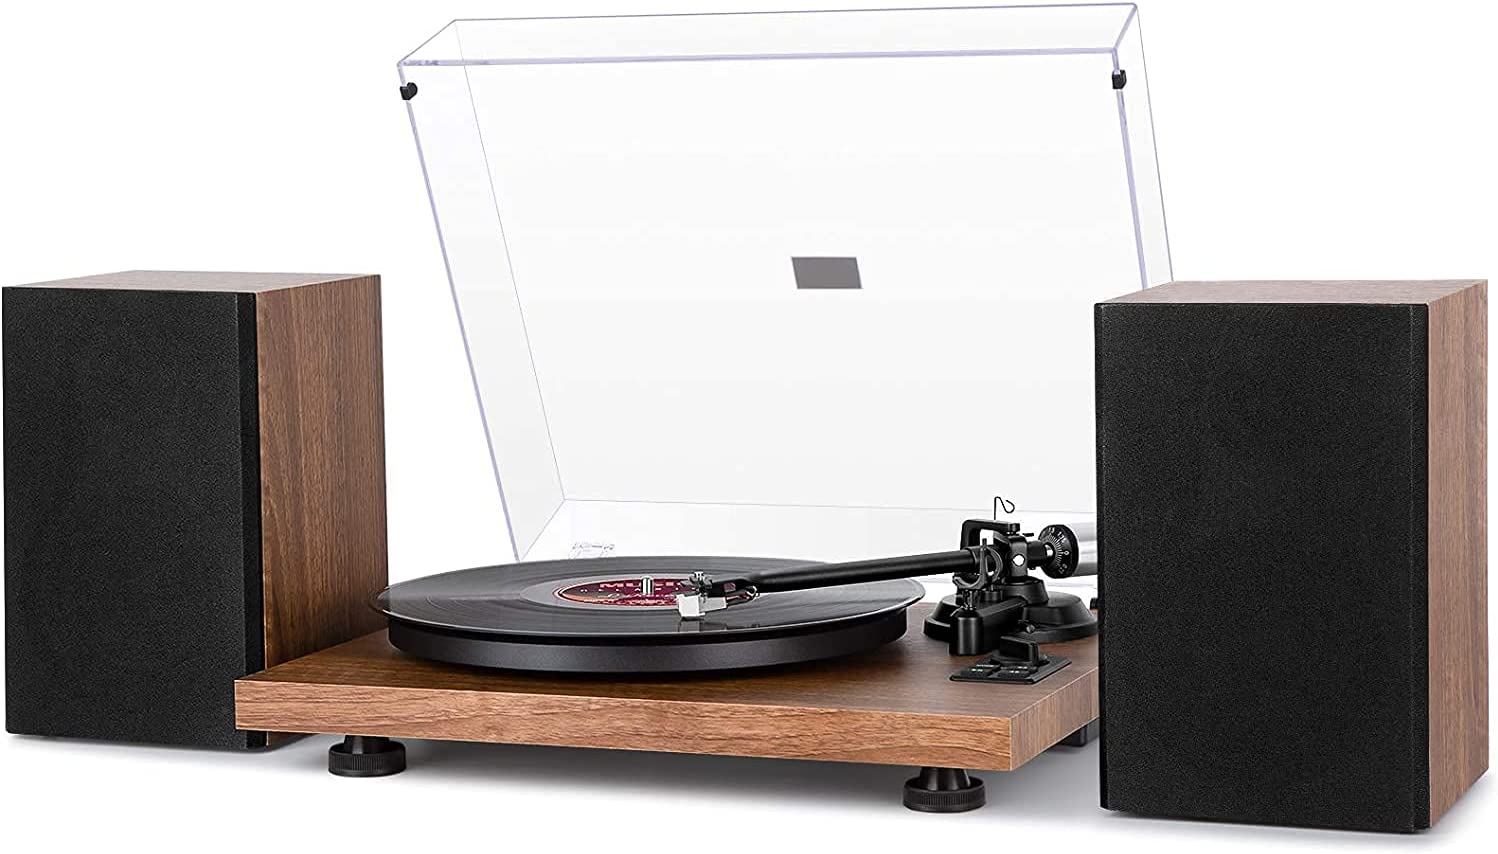
Keep speakers separate from the turntable where you can. Built-in-speaker record players are designed as compact all-in-one units, but separate speakers should not sit on the same thin board if you want clean playback.
Understanding the Connections
Most setup confusion comes from output level. A cartridge produces a phono signal, which is much quieter than ordinary hi-fi equipment and also needs equalisation to restore the correct bass and treble balance.
A phono stage, also called a phono preamp, does that job. It may be built into the turntable, built into the amplifier, or supplied as a separate small box.
Use this rule:
- Turntable set to PHONO goes into a PHONO input.
- Turntable set to LINE goes into AUX, LINE, CD, TAPE or powered speakers.
- A turntable with no built-in preamp needs a PHONO input or an external phono preamp.
If you connect a phono signal to an aux input, the music will be extremely quiet and thin. If you connect a line-level turntable output to a phono input, the sound will usually be too loud, distorted and unpleasant.
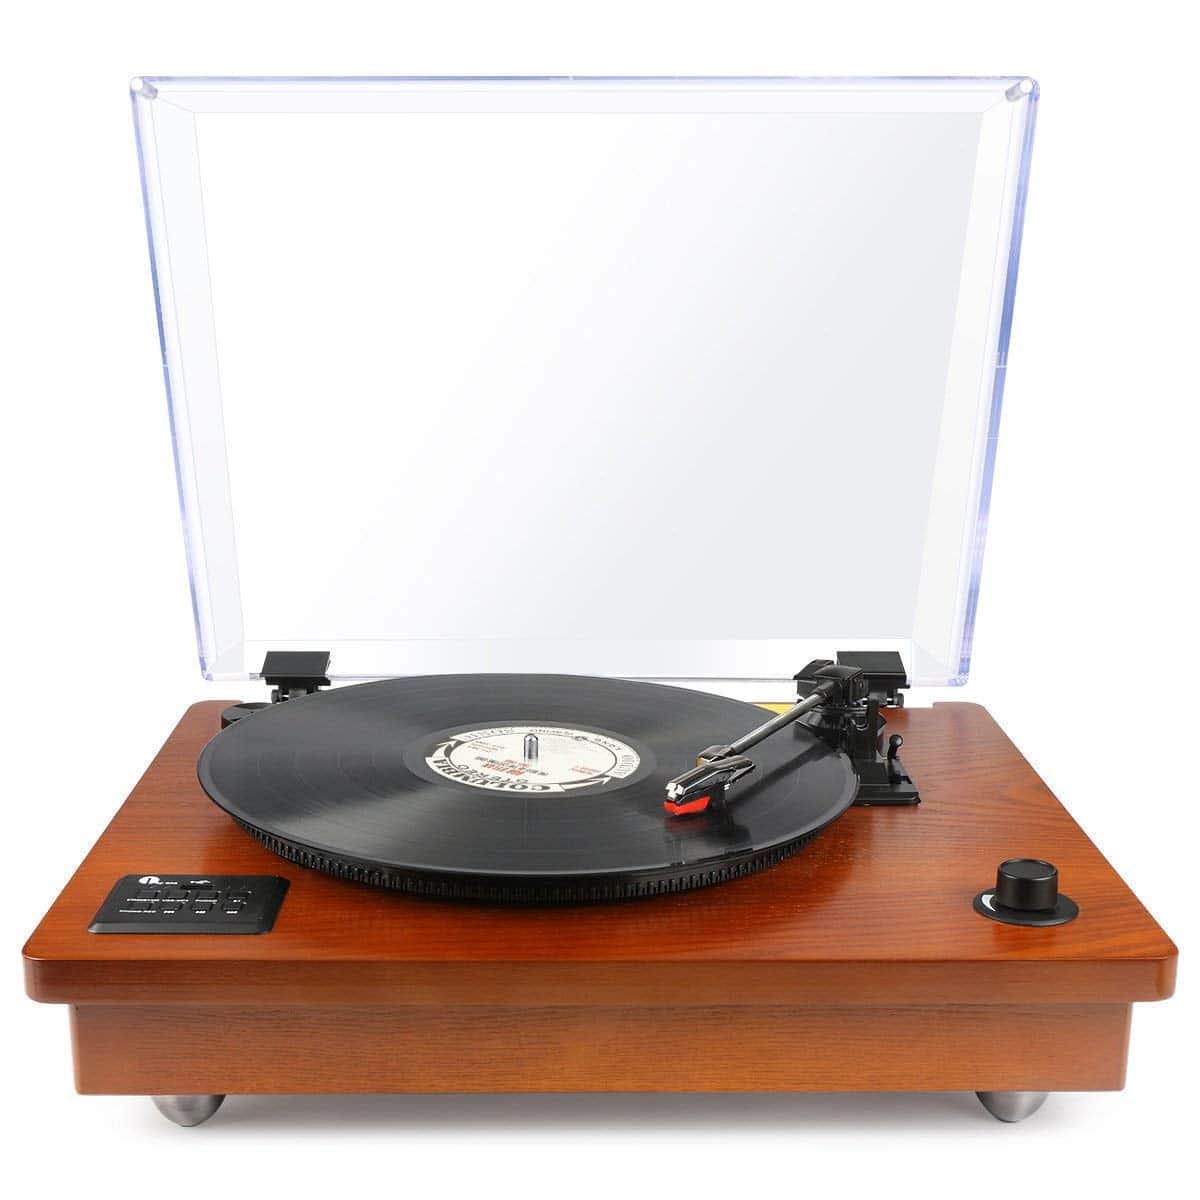
Many USB and Bluetooth turntables include a built-in preamp, but you should still check the rear-panel switch rather than assume. Some models from brands such as Audio-Technica, Sony, Lenco and Teac use a PHONO/LINE switch on certain turntables, but the exact layout varies by model.
Grounding is separate from the audio signal. A ground wire is usually a thin single cable with a fork or bare end that connects from the turntable to the amplifier’s ground terminal.
Use the ground wire when the turntable has one and the amplifier or phono preamp has a ground post. You should normally hear less hum after it is connected, especially when using a phono-level connection.
Bluetooth is different again. It sends audio wirelessly after the turntable’s internal electronics have processed the cartridge signal, but it can add a small delay and may not match the sound quality of a clean wired connection.
Powered speakers are speakers with an amplifier built in. If they only have line-level inputs, your turntable must be set to LINE or used with an external phono preamp.
Step-by-Step Setup
Follow the order below and pause after each important stage. If something does not look right, stop and correct it before moving on.
- Unpack the turntable carefully and keep all packing pieces until you know it works.
You should see the turntable body, platter, mat, dust cover, hinges, power supply, audio cables and any accessories that apply to your model. Some turntables arrive with the platter already fitted; others require you to install it.
- Place the turntable on the chosen surface and check that it is level.
The platter should sit flat, and the turntable should not rock when touched gently. If the feet are adjustable, make small changes until the bubble or level reading is centred.
- Fit the platter and belt if your turntable is belt drive.
A belt-drive model uses a rubber belt between the motor pulley and the platter. You should see the belt sitting flat, not twisted, and the platter should rotate smoothly by hand.
- Fit the mat on top of the platter.
The mat supports the record and helps control vibration. It should lie flat without bumps or trapped packaging.
- Attach the dust cover if you want to use it.
The hinges should move without forcing them. If fitting the cover makes the turntable unstable or too close to a shelf above, leave it off temporarily while setting up.
- Fit the headshell or cartridge only if your model requires it.
Many beginner turntables arrive with the cartridge already fitted. If your headshell is removable, line it up carefully and tighten the locking collar without using excessive force.
- Connect the audio cables before switching anything on.
Red usually means right channel, and white or black usually means left channel. After connection, the plugs should feel secure and should not be half-in or loose.
- Set the PHONO/LINE switch correctly if your turntable has one.
Choose PHONO only when connecting to a proper PHONO input or external phono preamp input. Choose LINE when connecting to aux, line, CD, tape, powered speakers or most analogue inputs on modern wireless speakers.
- Attach the ground wire if required.
Loosen the ground terminal, place the fork or bare wire under it, and tighten it gently. You should not need tools or force, and the wire should stay in place when lightly touched.
- Connect power, then switch on the amplifier or speakers at low volume.
Set the amplifier to the correct input and keep the volume low for the first test. You should hear either silence or a faint system noise, not a loud buzz or crackle.
- Set speed and record size where applicable.
Most LPs play at 33⅓ rpm, while most 7-inch singles play at 45 rpm. If your turntable has a size selector for automatic operation, choose the correct record size before pressing start.
- Remove the stylus guard only when you are ready to play.
Pull it off gently in the direction shown by the manual. The cantilever, which is the tiny arm holding the stylus tip, should remain straight and undisturbed.
- Place a record on the platter and cue the tonearm.
Use the cueing lever if provided, as it lowers the stylus more safely than your hand. You should hear music from both speakers at a normal volume if the connection and setup are correct.
- Listen for the first 30 seconds at moderate volume.
The sound should be clear, centred and stable. If it is extremely quiet, badly distorted, buzzing loudly or playing at the wrong speed, stop playback and check the relevant section below.
Initial Checks and Adjustments
Once the turntable is assembled and connected, check the mechanical parts before playing a full side. These checks prevent common problems such as skipping, speed instability and excessive stylus wear.
Start with the platter. It should spin freely, sit level and not scrape against the plinth.
If it is a belt-drive model and the platter does not rotate, the belt may not be fitted around the motor pulley. Switch the turntable off, remove the mat and platter if the manual allows, and check the belt position.
Check the tonearm movement. With the stylus guard still fitted, the arm should move smoothly from rest towards the platter without sticking or swinging wildly.
On automatic turntables, use the start and stop controls exactly as the manual describes. You should see the arm move to the start of the record and return at the end, though the exact behaviour varies by model.
Check the cartridge and stylus from the front. The stylus should point down and sit centrally, not bent to one side.
If the stylus looks damaged, do not play records with it. A damaged stylus can mark records and will not improve by being used.
Set the speed selector before playing. If voices sound too slow and deep, or too fast and high, check whether you are using 33⅓, 45 or 78 rpm correctly.
Setting Tracking Force and Anti-Skate
Tracking force is the downward pressure of the stylus on the record. Too little can cause mistracking and skipping, while too much can increase wear and make the sound dull or strained.
Some entry-level turntables have factory-set tracking force and no user adjustment. In that case, do not try to force adjustments that are not provided.
If your turntable has a counterweight, follow this general method unless your manual gives a different procedure:
- Keep the stylus guard fitted while balancing the arm if the manual allows it.
- Set anti-skate to zero.
- Release the tonearm from its rest while holding it securely.
- Turn the counterweight until the arm floats level, neither rising nor falling.
- Return the arm to its rest and lock it.
- Without moving the counterweight itself, rotate only the numbered dial to zero if your design uses a separate dial.
- Turn the counterweight to the cartridge’s recommended tracking force.
- Set anti-skate to the same number as a starting point, if your turntable uses a numbered anti-skate control.
After this, the arm should lower steadily and track without skating rapidly towards the centre or outside of the record. The sound should be stable, without obvious breakup on normal passages.
Anti-skate applies a small outward force to counter the tonearm’s tendency to move inward across the record. It is not a tone control, and extreme settings can make tracking worse.
If your turntable includes a pre-fitted cartridge, the recommended tracking force should be in the manual or cartridge information. Do not guess if the setting range is unclear.
A stylus force gauge is a sensible purchase if you have a manual turntable with an adjustable arm. It is especially useful after moving the turntable or changing a cartridge.
Common Mistakes
Most first-time problems are simple setup mismatches rather than faulty equipment. Work through the basics before returning a turntable or assuming the cartridge is bad.
- Plugging a phono-level turntable into an aux input and getting very quiet sound.
- Setting a built-in preamp to LINE and plugging it into a PHONO input, causing distortion.
- Forgetting the ground wire and hearing persistent hum.
- Leaving the stylus guard on and wondering why there is no music.
- Placing speakers on the same light surface as the turntable.
- Using the wrong speed for the record.
- Letting the tonearm drop by hand instead of using the cueing lever.
- Balancing the arm with anti-skate already turned up.
Another common error is overtightening small parts. Headshell collars, ground posts and cartridge screws should be secure, but not forced.
Avoid touching the stylus tip with your fingers. Skin oils and accidental sideways pressure can damage a delicate stylus assembly.
Do not clean records with household sprays, alcohol-heavy cleaners of unknown strength, or abrasive cloths. Use a proper record brush or record-cleaning fluid designed for vinyl.
Safe Troubleshooting
Troubleshooting should be calm and methodical. Turn the volume down before changing cables, inputs or switches.
If there is no sound:
- Check that the amplifier or powered speakers are on.
- Check that the correct input is selected.
- Check that the RCA plugs are fully inserted.
- Check whether the turntable is set to PHONO or LINE correctly.
- Check that the stylus guard has been removed.
- Try another record to rule out a damaged disc.
If the sound is very quiet and thin, you are probably feeding a phono signal into a line-level input. Use a phono input, switch the turntable to LINE if it has a built-in preamp, or add an external phono preamp.
If the sound is loud and distorted, you may be feeding a line-level signal into a phono input. Switch the turntable to PHONO or move the cables to a line-level input, depending on the equipment.
If you hear hum, check the ground wire first. Also keep audio cables away from mains adaptors, extension leads and power bricks where possible.
If one speaker is silent, swap the left and right RCA plugs at the amplifier input. If the silent side changes, the issue is before the amplifier; if it stays on the same speaker, check the amplifier, speaker cable or powered speaker settings.
If the turntable does not spin, check the belt, power connection, start control and transport locks. Some turntables have transit screws or arm locks that must be released before use.
If the record skips, check that the surface is level and that nobody is walking heavily near a flexible floor or stand. Then check tracking force, stylus cleanliness and record condition.
Do not open a mains-powered turntable, amplifier or powered speaker to investigate electrical faults. If you suspect a power supply fault, burning smell, damaged mains cable or liquid spill, unplug the equipment and contact the retailer or a qualified repairer.
How to Confirm Everything Is Working
A correctly working setup should give you predictable behaviour. The platter should rotate at the chosen speed, the stylus should lower gently, and music should come from both channels.
Use a clean, familiar record for the final check. Choose a normal LP rather than a warped, scratched or valuable pressing.
Listen for these signs:
- Vocals sit roughly in the centre when the mix is centred.
- Both speakers play at similar volume.
- Bass is present but not booming uncontrollably.
- Treble is clear without harsh crackling on every note.
- The record plays without repeated skipping.
- The pitch sounds natural and steady.
A little low-level surface noise is normal, especially on used records. Loud buzzing, severe distortion or constant skipping is not normal and should be investigated.
Check the end of a side as well as the start. Inner grooves are harder for a stylus to track, so obvious distortion near the label can reveal poor setup, a worn stylus or a damaged record.
After the first successful side, lift the tonearm with the cueing lever and return it to its rest. Fit the stylus guard if you are going to move the turntable or do more setup work.
Frequently asked questions
Do I need an amplifier for a turntable?
You need some form of amplification, but it does not always have to be a separate hi-fi amplifier.
A traditional passive-speaker system needs an amplifier or receiver. Powered speakers have amplification built in, but they still need the correct signal level from the turntable or a phono preamp.
Can I connect a turntable straight to powered speakers?
Yes, if the turntable has a built-in phono preamp and is set to LINE, or if the powered speakers have a dedicated phono input. Most powered speakers use line-level inputs, so a phono-only turntable will need an external phono preamp.
If the sound is extremely quiet through powered speakers, the turntable is probably not sending a line-level signal.
Why does my turntable hum when I touch it or turn the volume up?
Hum is often caused by grounding or cable placement. Connect the ground wire if your equipment provides one, and keep signal cables away from power supplies and mains extension blocks.
Some low-level hum can become audible at very high volume with no music playing. Loud hum during normal listening usually means something needs checking.
Should I leave the dust cover open or closed while playing records?
Either can work, depending on the turntable and room. Closing the cover protects from dust but can sometimes pick up vibration or acoustic feedback at higher volumes.
If you hear booming, ringing or feedback, try playing with the cover removed or open. If the room is dusty and playback is stable, closing it is convenient.
How often should I clean the stylus?
A light stylus clean after a few sides is a good habit, especially if you play used records. Use a proper stylus brush and brush from back to front, following the direction the record moves under the stylus.
Never scrub sideways or pull the stylus towards you. The cantilever is delicate and can bend easily.
What should I do if my record player has built-in speakers?
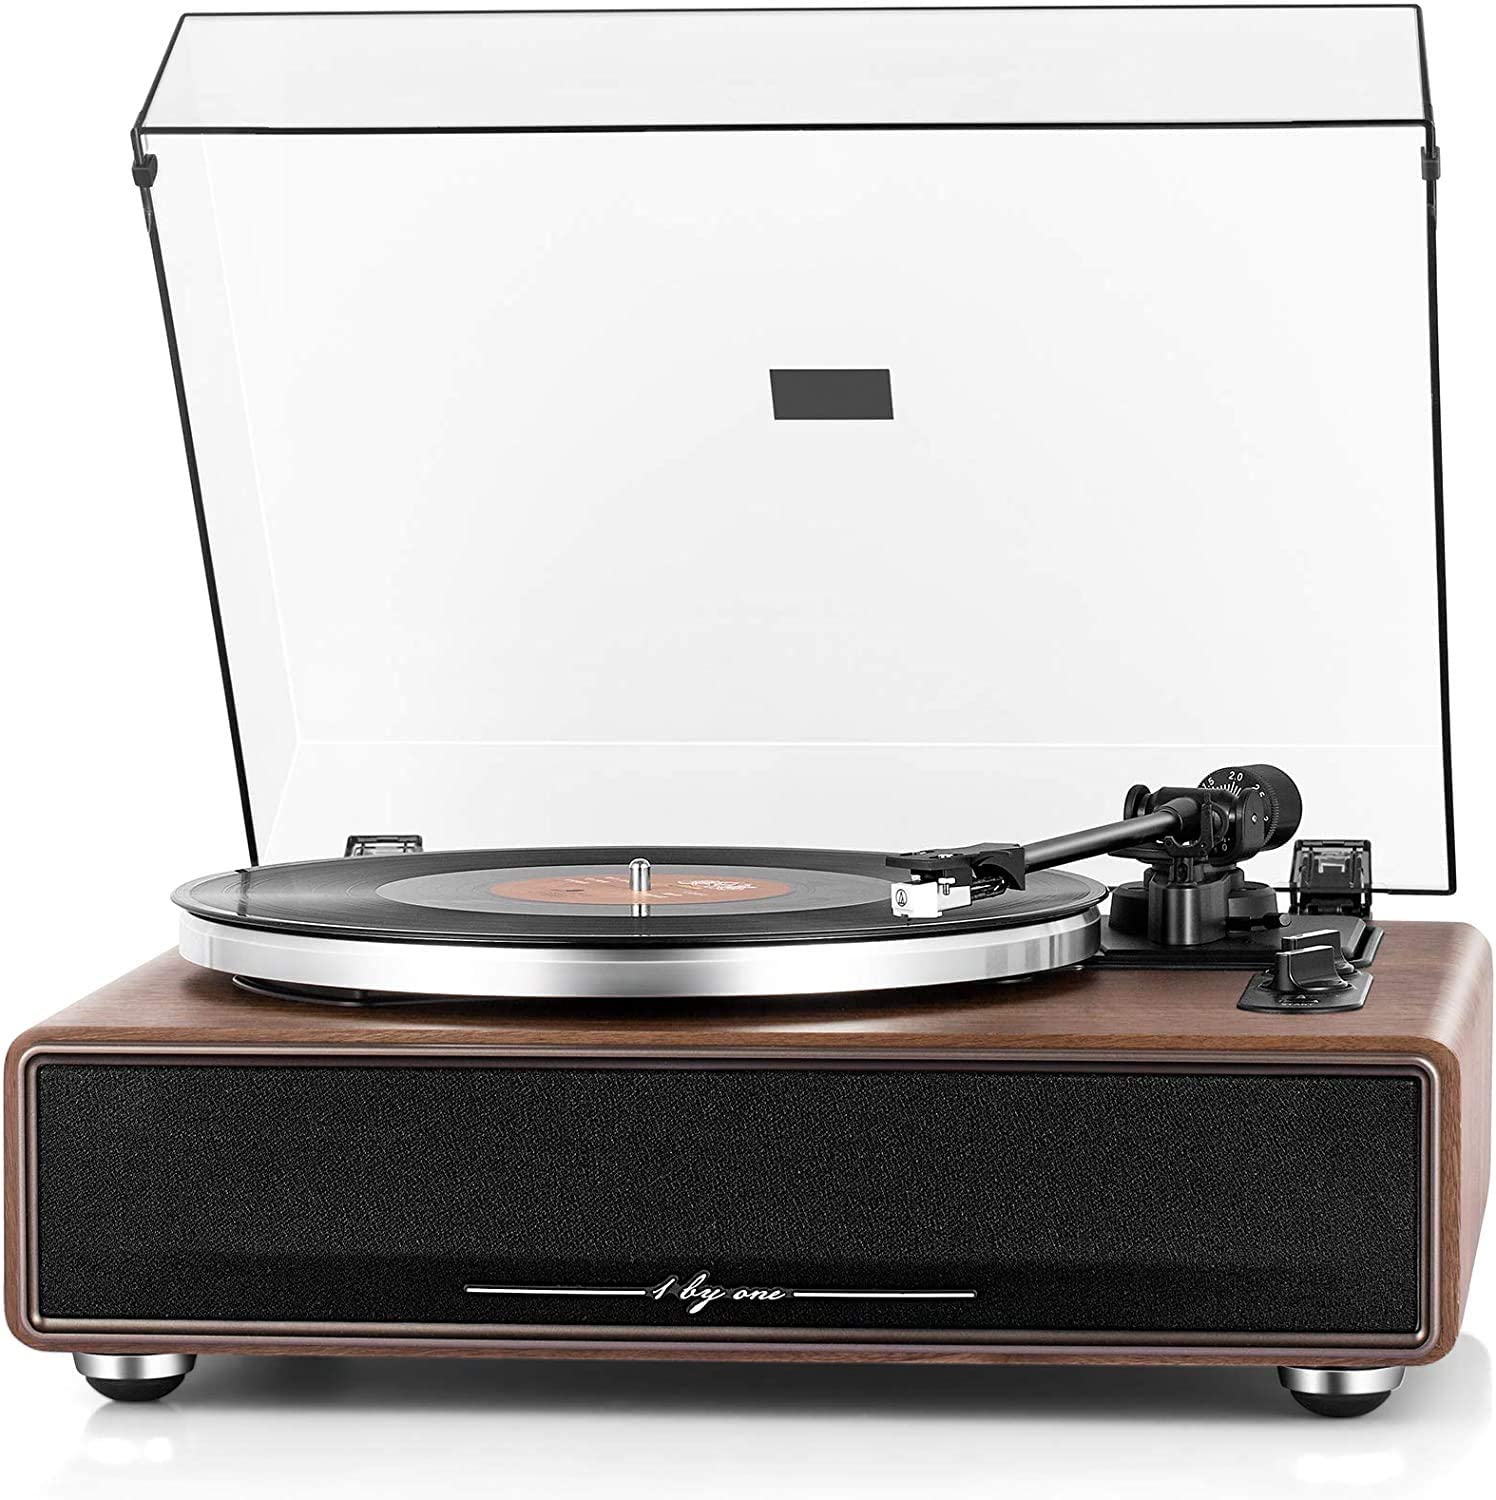
Place it on a level, stable surface and keep the volume sensible. Built-in speakers are convenient, but their vibration is physically close to the stylus.
If the unit has line outputs, you may get better separation and less vibration by using external powered speakers or an amplifier. Check the manual before connecting extra equipment.
Is Bluetooth good enough for vinyl playback?
Bluetooth is convenient and can be perfectly acceptable for casual listening. It is useful where running cables is awkward or when using compact wireless speakers.
A wired connection is usually the better starting point for setup because it removes pairing, delay and codec issues from the troubleshooting process.
Can I use any cartridge on any turntable?
No. Cartridge compatibility depends on the tonearm, headshell, mounting type, tracking-force range and phono stage.
If you are new to vinyl, keep the supplied cartridge until the turntable is working properly. Upgrade only after checking what your tonearm and phono input can support.
Final recommendation
Take your time and set the turntable up in stages: position first, assembly second, connections third, tonearm settings fourth, then listening checks. If each stage looks and sounds right before you move on, faults are much easier to spot.
For most new owners, the best next step is to play a clean record at moderate volume and make small checks rather than constant adjustments. Once the system is stable, invest in basic record and stylus cleaning tools before spending money on upgrades.
If you still have hum, distortion, skipping or no sound after following the safe checks, stop using the system and confirm the manual’s setup instructions for your exact model. For suspected electrical faults, damaged power supplies or anything involving mains wiring, use the retailer, manufacturer support or a qualified technician rather than attempting a repair yourself.